Appearance
Install and set up
This page describes how to install Colobus and mask your first record. Setup takes about 15 minutes. A Salesforce administrator installs the package, assigns the permission sets and creates the first masking policy. Each person who masks their screen installs the browser extension, unless your IT team installs it for everyone.
Before you start
- Colobus requires a Salesforce org in Enterprise, Unlimited or Developer Edition, with Lightning Experience. Professional Edition orgs can install Colobus once it is listed on AppExchange.
- The person who installs the package needs the Download AppExchange Packages permission. The System Administrator profile includes this permission.
- Each person who masks their screen needs Google Chrome or Microsoft Edge on a desktop or laptop computer.
- If you have a sandbox, install Colobus there first and test it before you install it in production.
1. Install the package
- Open the Colobus install page on the Turbo Tres website.
- Click Install in production for a production or Developer Edition org, or Install in a sandbox for a sandbox. Log in to the org if Salesforce asks you to.
- Choose Install for Admins Only.
- Below that, Salesforce shows a notice that Colobus is not yet authorized for distribution as part of its AppExchange Partner Program, which includes a security review. The notice appears until Colobus is listed on AppExchange. To install Colobus, select the checkbox that begins I acknowledge that I’m installing a Non-Salesforce Application.
- Click Install, and wait for the confirmation email.
Installing the package does not change your org's settings. Colobus masking is enabled for the org by default, but the org has no masking policies yet, so no fields are masked until you create a masking policy.
2. Give people access
Assign one Colobus permission set to each person. In Setup, open Users, click the user's name, and then open Permission Set Assignments.
| Permission set | Assign it to |
|---|---|
| Colobus User | People who mask their screen with the extension. |
| Colobus Admin | People who create masking policies and change the Colobus settings. |
Assign Colobus Admin to yourself. It includes the access in Colobus User, so no one needs both permission sets. For details, see Permission sets and who can do what.
3. Install the browser extension
Each person installs the Colobus extension from the Chrome Web Store listing for Chrome or from the Microsoft Edge Add-ons listing for Edge. The setup checklist in the Colobus app also links to both stores. Your IT team can install the extension for everyone instead; see Install the extension for everyone.
No configuration is required in the extension. The first time someone opens a Salesforce page in your org, the extension checks whether Colobus is set up for them.
4. Create your first masking policy
From the App Launcher, open Colobus, and then open the Colobus Masking Policies tab.
Click Create starter masking policy.

Colobus shows a message with the number of fields that it added. If some of the fields or objects do not exist in your org, the message lists them, and they are not added.
The starter masking policy is named Starter: Common PII. It masks these common personal fields for everyone:
- On contacts, the email, phone, mobile phone and birthdate fields, and the street, city and postal code of the mailing address.
- On leads, the email, phone and mobile phone fields, and the street, city and postal code of the address.
- On accounts, the phone field, and the street, city and postal code of the billing address.
On record pages, the whole address is covered. Review the masking policy before you rely on it, and add the fields that your org uses, such as the state and country if your list views show them. For instructions, see Masking policies.
5. Test masking
- Click the Colobus button in your browser's toolbar, and turn on Masking.
- Open a contact record. The fields in the starter masking policy are covered by dark bars, and the Colobus masking label is shown in the bottom-right corner of the page.
For more information about the switch and the label, see Using the extension.
6. Complete the setup checklist
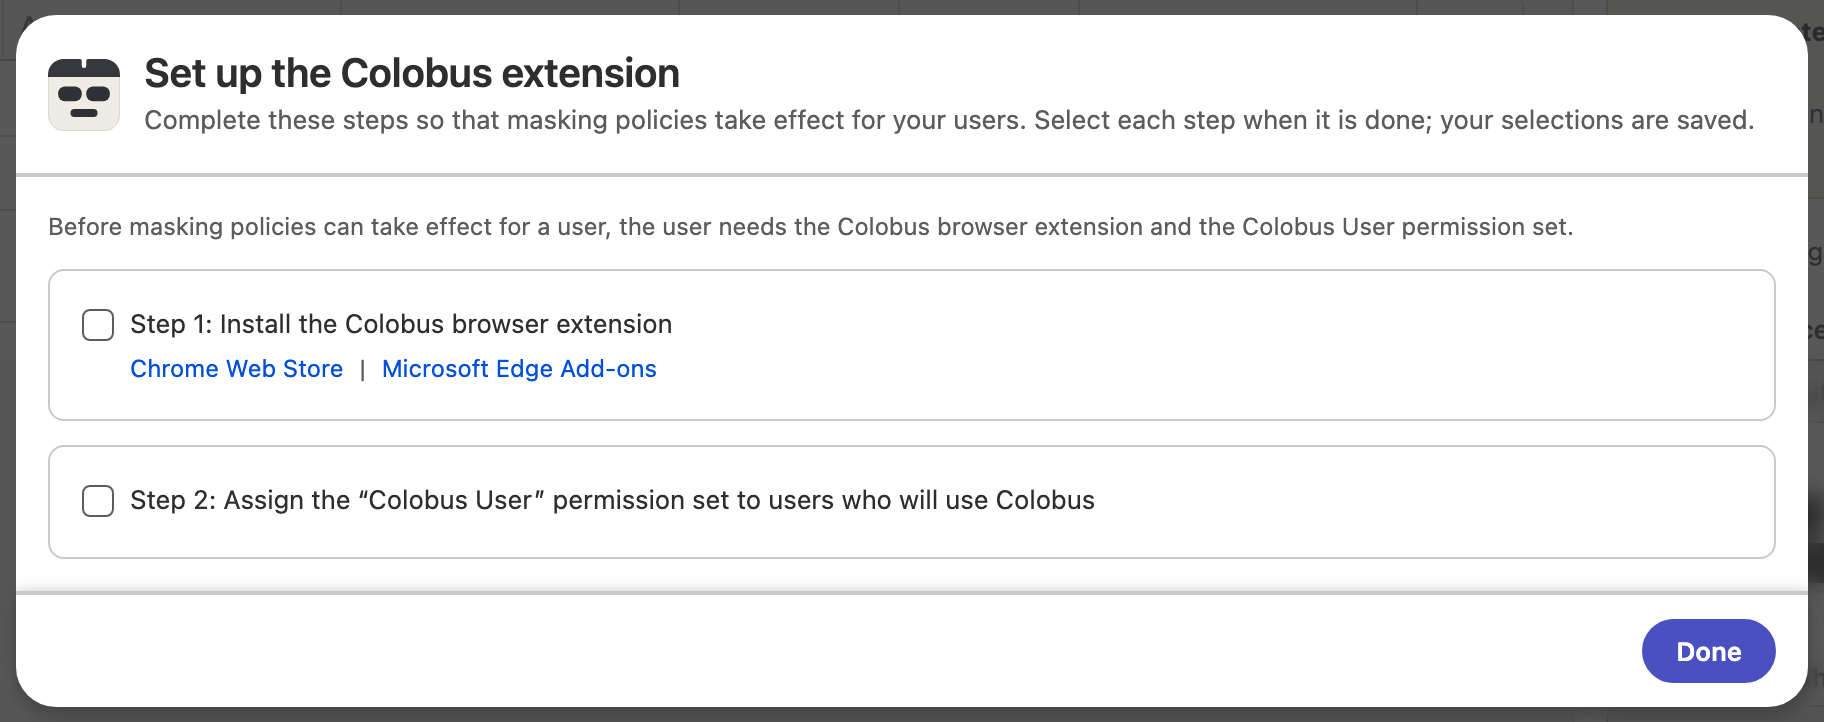
To open the setup checklist, click Set up the extension in Colobus org-wide settings on the right side of the tab. The checklist lists the two steps that each user needs before masking policies take effect for them: installing the Colobus browser extension, and being assigned the Colobus User permission set. Select each step when it is done. Your selections are saved, and until both steps are selected, a banner at the top of the tab links to the setup checklist.