
Appearance
Install and set up
This page takes you from installing Presently to marking your first session. It takes about 15 minutes and needs a Salesforce admin.
Before you start
- You need a Salesforce Enterprise, Unlimited or Developer edition org. Professional Edition orgs can install Presently once it is listed on AppExchange.
- The person installing needs the Download AppExchange Packages permission. A System Administrator has it.
- If you have a sandbox, install there first and try a session end to end.
1. Install the package
- Open the Presently install page on the Turbo Tres website.
- Click Install in production for a production or Developer Edition org, or Install in a sandbox for a sandbox. Log in to the org if Salesforce asks you to.
- Choose Install for Admins Only.
- Below that, Salesforce shows a notice that Presently is not yet authorized for distribution as part of its AppExchange Partner Program, which includes a security review. The notice appears until Presently is listed on AppExchange. To install Presently, select the checkbox that begins I acknowledge that I’m installing a Non-Salesforce Application.
- Click Install, and wait for the confirmation email.
Why Admins Only? Presently comes with its own permission sets, so you can give each person exactly the access they need in step 2. Installing for all users would give every profile full access.
2. Give people access
Assign one Presently permission set to each user, in Setup, Users, then the user, then Permission Set Assignments:
| Permission set | For |
|---|---|
| Presently Viewer | People who look but don't change anything. |
| Presently Staff | People who take attendance. |
| Presently Program Owner | People who run programs, offerings and rosters. |
| Presently Admin | People who set Presently up and need to see everything. |
Assign yourself Presently Admin. The details of each are in Permission sets and who can do what. One more set, Presently App Data, is only for orgs that build their own permission sets for Presently; the page above explains it.
Each user's profile must also allow:
- Read on Contact, including the Contact Email and Phone fields. The people you track are Contacts, so without this users can't see or find them. Standard profiles such as Standard User already have it; Minimum Access does not.
- Run Reports, for anyone who will build reports on Presently data.
Users also need access to the Contact records themselves: they can only find, enroll or add as a walk-in the people that sharing lets them open. Under the default Contact setting, a Contact with no Account is private to whoever created it, so your staff may find nobody. Link Contacts to an Account your users can see, open up Contact sharing, or add sharing rules. To check, log in as a staff member and search in Add walk-in.
3. Create your attendance codes
A new install has no attendance codes, and marking is switched off until at least one exists.
- Open the Presently app from the App Launcher.
- On the Presently home tab, click Configure.
- On the Attendance codes tab, click Create starter codes. This adds Present, Absent and Late.
- Add or change codes as you like with New code.
While you are in Configure, set up reporting categories too: give each code a category and tick the categories that count as attended. Until you do, Presently shows how much is marked instead of attendance rates, and flags nothing as low. Common reasons are optional. See Configure Presently.
4. Create a program and an offering
- Go to the Programs tab and click New. Give it a name, such as "Morning Yoga".
- On the program, create an Offering: a name ("Autumn term"), start and end dates, frequency (Daily, Weekly, Every 2 weeks or Ad hoc), weekday and default time.
- On the offering, click Enroll people and choose who is taking part.
5. Take attendance
On the offering, click Create next session. Presently suggests the next date from the offering's schedule.
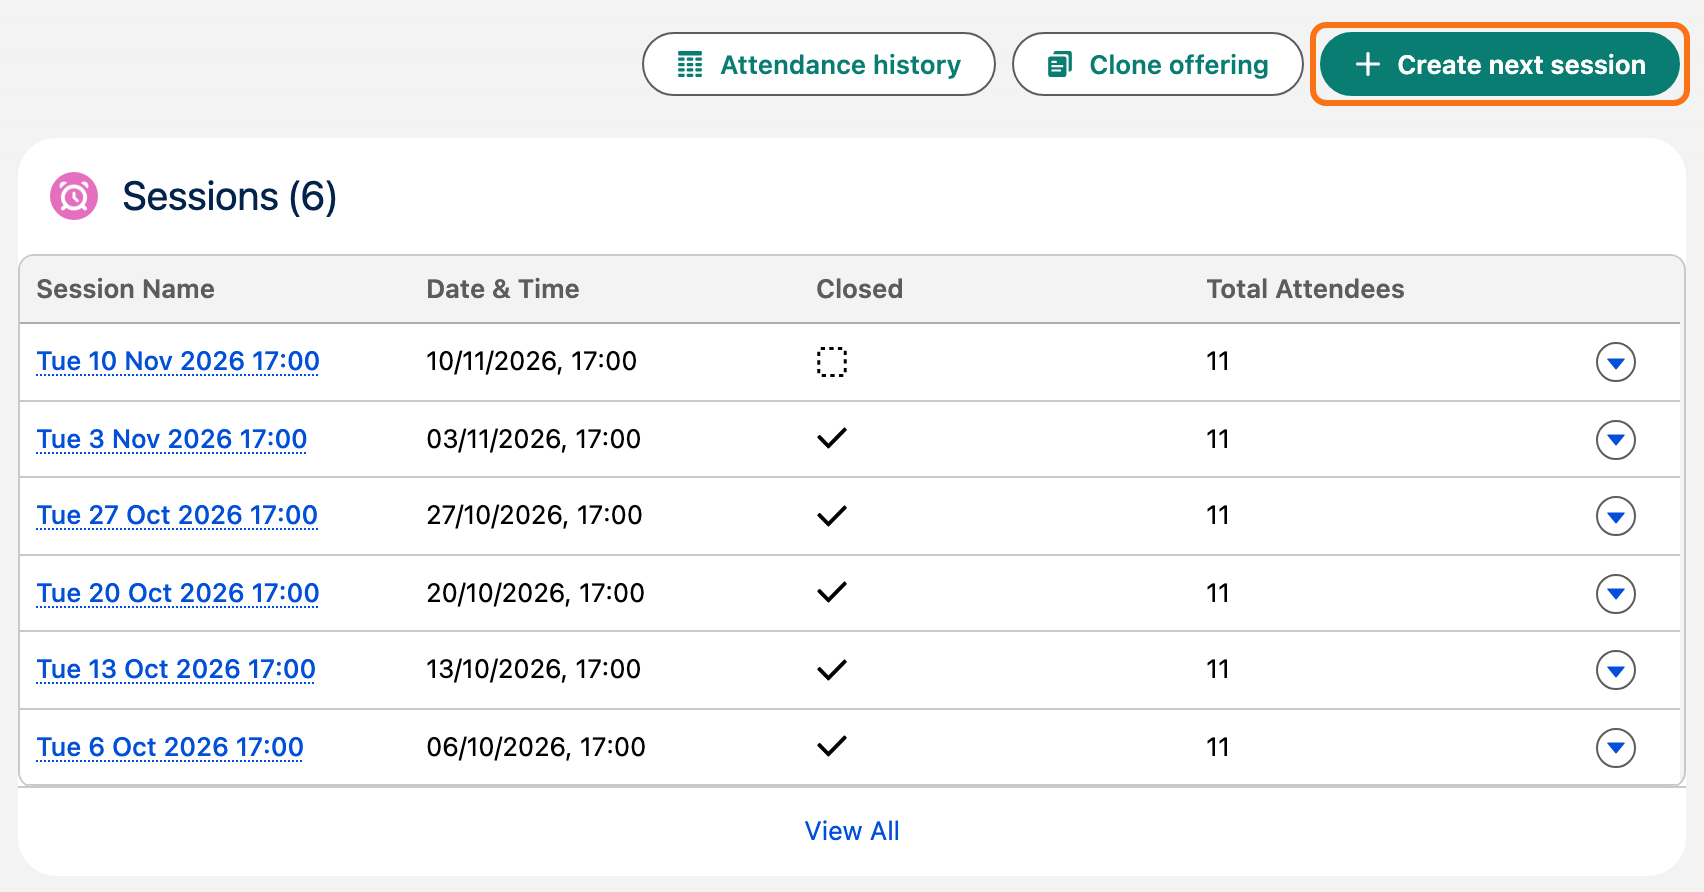
The session's attendance sheet opens with everyone enrolled. Tap each person's code to mark them.
When you are done, click Close session.
That's it. See Taking attendance for everything the sheet can do.
Optional: keep teams' records apart
By default, every Presently user can see every program and offering, and Staff can take attendance on any of them. That suits a team where people cover each other's classes. If your teams should only see their own offerings:
- In Setup, open Sharing Settings, click Edit, and set Offering to Private. Program can stay public, since seeing every program's name does no harm; set it to Private as well if you prefer.
- Give people access to the offerings they work on. People always see the offerings they own, and managers above them in the role hierarchy see them too. For everyone else, use sharing rules on Offering (for example, share the offerings owned by one role or public group with another group) or the Share button on an offering for one-off cases.
- Log in as one of your Staff users and check they see their offerings on the Presently home page.
How much access each person needs:
- Presently Viewer: Read Only access to see an offering and its attendance.
- Presently Staff: Read Only access to an offering is enough to create its sessions, take attendance and add walk-ins.
- Presently Program Owner: Read/Write access to change an offering or its roster. They have it on offerings they own.
- Presently Admin: sees every program and offering, whatever these settings say.
Everything in Presently follows the setting. Sessions and attendance follow their offering, and the home page, Attendance History, the attendee lookup and the list views show only what each person can see. Someone who opens a session they can't see gets Salesforce's message that the record can't be found. People see attendees only where Contact sharing also lets them (see above).
These settings are yours: installing a new version of Presently never changes them.
Check your record pages
Presently's record pages (Program, Offering, Session, Attendance and Attendance Code) are switched on for the Presently app. If your org already overrides record pages for these objects, check the activation in Lightning App Builder, then open an offering as a non-admin user and confirm you see the Enrollments card.
Duplicate contacts
Presently doesn't merge or deduplicate people. Use Salesforce duplicate rules on Contact so the same person isn't enrolled twice under two records.